
BENCHES + PADS
Bench & seat surfaces
Measure the exact contact area and show seams, edges, hinges, handles, and nearby moving parts.

Custom foam pads and protective surfaces for weight-room equipment. Choose your colors, place your laser-engraved logo, and build the concept around the equipment you actually use.
Custom order only · Dimensions reviewed before production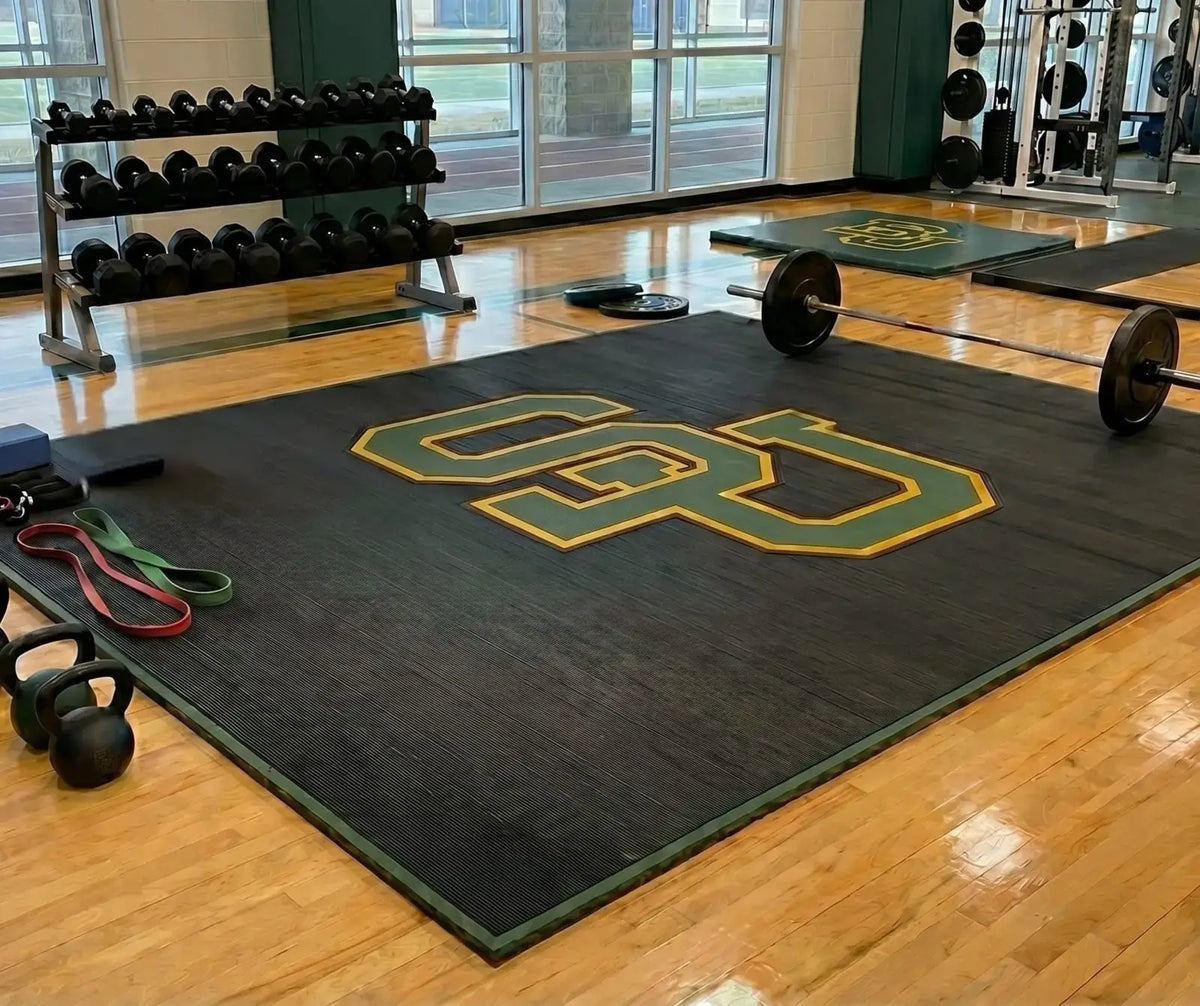

Choose your colors. Add your logo. Move it exactly where you want it. Send the saved design with your quote request.
Screen colors are approximate. Available foam colors are confirmed with your quote.
No logo uploaded
Upload a logo with a transparent background for an accurate engraving preview. Solid image backgrounds will also appear as engraved areas. PNG, JPG, or WebP; up to 5 MB and 4096 × 4096 pixels.
Choose Position logo to drag the artwork directly. Placement sliders work on mobile too. Logos and lettering are laser engraved and preview in the base-layer color. There is no separate text or print color.
Enter requested dimensions in inches. This is a design concept, not a verified fitment template. Cutouts, seat contours, thickness, and material must be reviewed before production.
Weight-room equipment is not one standard shape. The useful measurement is the exact surface that needs coverage—not the overall machine footprint.
Benches, rack contact areas, platforms, shelves, trays, and specialty training equipment can all require different dimensions, clearances, and attachment plans. Start with the real equipment and how it moves.
Measure the exact contact area and show seams, edges, hinges, handles, and nearby moving parts.

Show rails, posts, bolts, handles, and clearance so the foam does not interfere with normal equipment use.

For unusual equipment, send full-equipment photos plus close-ups of the exact surface, dimensions, and hardware.
Protect the right surface, keep movement and clearance intact, and make the weight room look intentional.
Custom foam for approved flat bench or seat areas using the actual usable dimensions and equipment photos.
Cover specific rack surfaces while keeping hardware, rails, hooks, handles, and moving parts clear.
Build custom pieces around training equipment that does not fit a standard bench or rack category.
Use a consistent color and engraving system across several approved equipment types for a more finished weight room.
The useful measurement is the exact contact surface—not the overall machine size.
Benches, rack contact areas, platforms, shelves, and training equipment all have different clearances and hardware. Share the exact surface, photos, make/model information, and dimensions so the foam can be reviewed for the real equipment.
Choose color combinations that work with the room, school, team, or facility branding.
Place a logo or lettering in the designer and preview how the base layer will show through the laser-engraved artwork.
Hinges, handles, rails, upholstery seams, bolts, and moving equipment parts need to stay clear of the foam layout.
List each different bench, rack, platform, or training surface separately so sizes and quantities are clear.
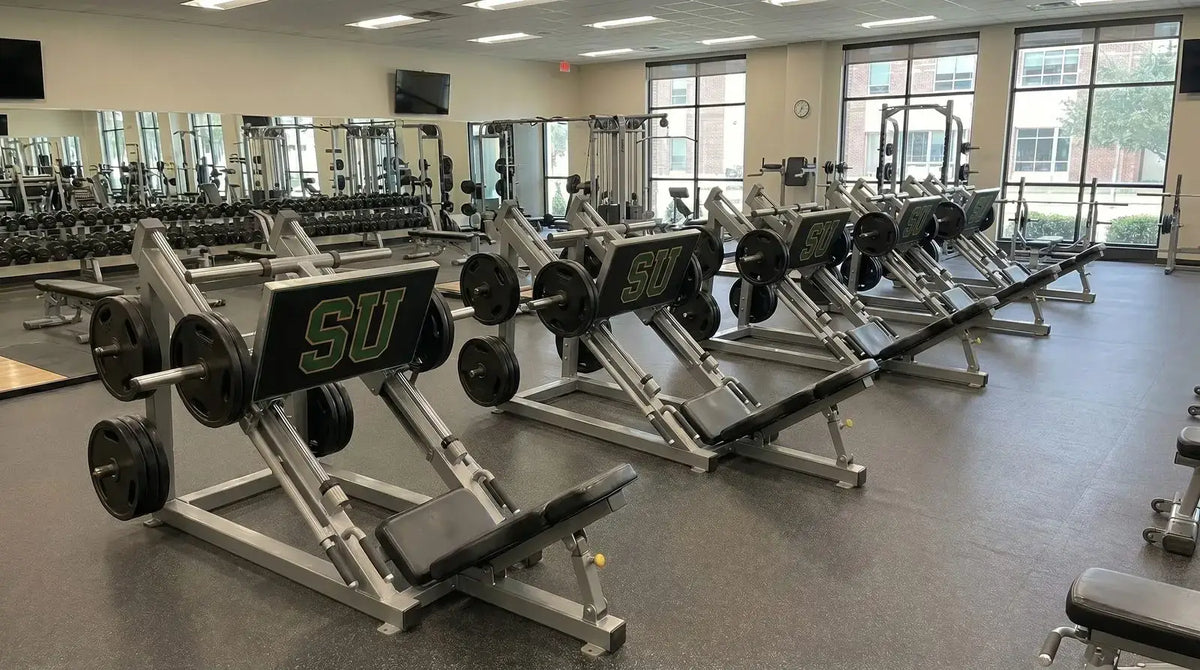
Weight rooms often contain equipment from several manufacturers. A consistent foam color and engraving system can visually tie those different pieces together.
Choose a visible top layer and a contrasting base/border layer. Available foam colors are confirmed during quoting.
Place a team, school, facility, or organization logo on the 3D preview. The engraving is represented by the base-layer color.
Short engraved labels, numbers, room names, or approved identifiers can be discussed as part of the project.
Keep colors and engraving consistent even when the project contains several equipment types and foam sizes.
Request foam for flat bench or seat contact areas using the actual usable dimensions.
Cover specific rack or equipment surfaces while accounting for rails, bolts, handles, and clearance.
Use one color and engraving system across multiple equipment types for a more consistent room.
The foam should be designed around the usable area without blocking normal equipment movement, adjustments, hardware, or required access.
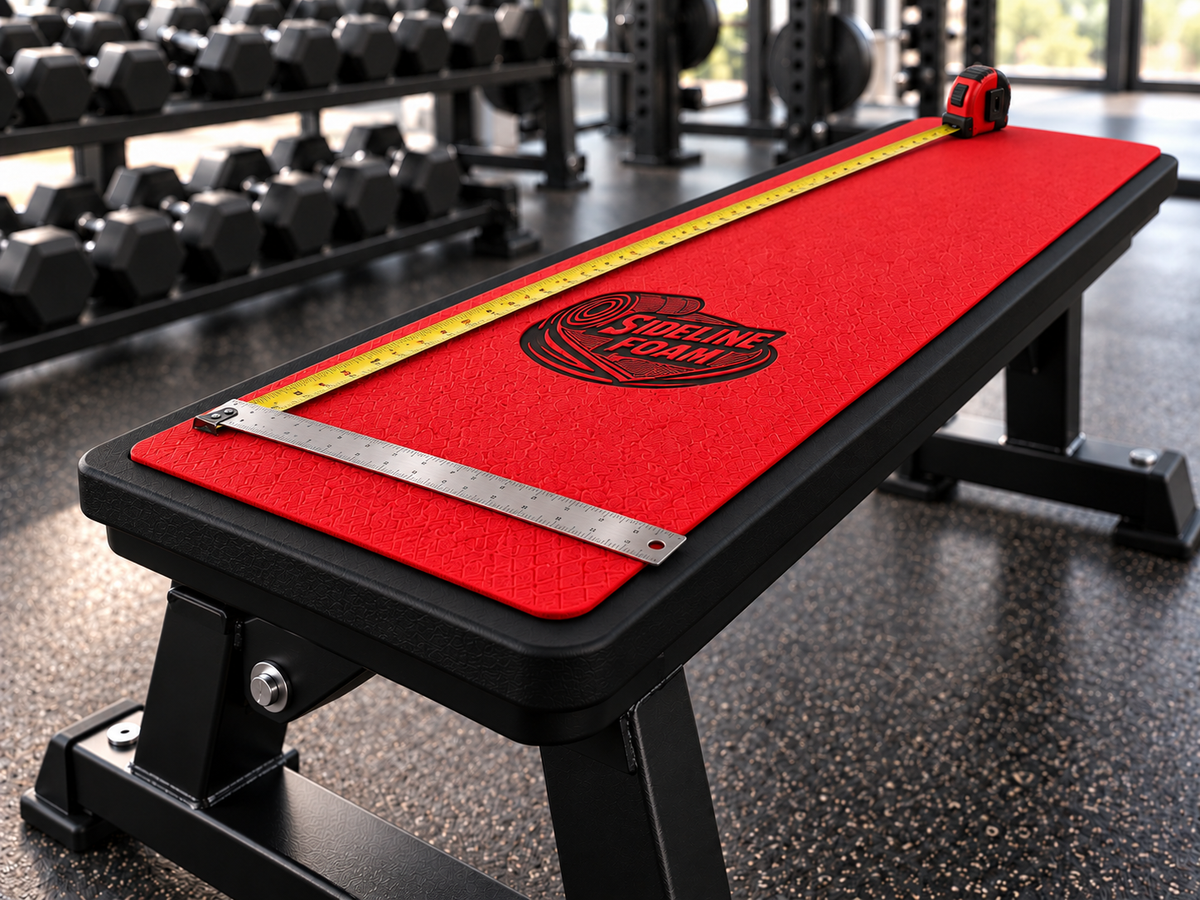
Measure the exact surface you want covered and the clearance around it.
Tell us whether the foam is for a bench, platform, rack contact area, shelf, or another equipment surface. Include the manufacturer and model when available.
Photograph those areas closely. Show seams, rails, bolts, hinges, moving parts, and anything else that changes the usable surface or clearance. Final fit, thickness, and attachment method are confirmed during review.
Use the same measurement units throughout. Initial measurements help prepare your quote; production dimensions are confirmed before cutting.
Tell us about the exact surface, quantity, dimensions, colors, and artwork. Photo links help us understand the real project.
We follow up on fitment questions, design details, pricing, and timing. If more measurements, photos, or a template are needed, we discuss them with you.
Approve the agreed design, dimensions, and order details before your project moves into production.
The quote is based on the actual equipment, number of unique surfaces, artwork, quantity, and project requirements.
Larger or unusual surfaces require different material layouts than small repeated pieces.
One repeated bench size is simpler than a room containing several machines and surface shapes.
Hinges, rails, bolts, handles, hooks, moving parts, and adjustment points can change the usable foam footprint.
Different logos, labels, numbers, or placement rules create additional unique layouts to review.
A single custom pad and a facility-wide equipment project have different production scopes.
Include the preferred in-hand date and delivery location so scheduling and shipping can be considered.
Weight-room equipment varies by manufacturer and model, so the project should be reviewed around the exact surface and how the equipment moves.
Fitment must be reviewed for the exact equipment surface. Hardware, moving parts, upholstery, rails, hinges, and clearance can affect the foam layout.
Yes. Choose top and base colors, then add a logo or lettering. The artwork is previewed as laser engraving in the base-layer color.
Yes. List each equipment type, dimensions, and quantity separately so the quote can include all variations.
It should not be positioned where it blocks required movement or clearance. Show all moving parts and nearby hardware in your photos so the project can be reviewed correctly.
Yes, indoor projects can be reviewed. If the equipment is in a covered or outdoor training area, note that in the request as well.
Installation depends on the equipment surface, approved foam specification, and project requirements. Follow the instructions supplied with the final order.
Timing depends on quantity, design approval, material availability, and project complexity. Include your preferred in-hand date.
Show exactly how the equipment contacts the proposed foam area. Impact, load, abrasion, movement, and clearance need to be reviewed for the specific application before the final construction is approved.
Those parts should remain accessible and functional. The foam layout should be planned around controls, pins, hinges, rails, and moving joints rather than blocking them.
Yes. List each manufacturer/model, surface dimensions, and quantity separately so the different equipment styles can be reviewed while keeping the overall color and engraving system consistent.
Ask for that in the quote request. Prototype or sample options, setup requirements, pricing, and timing can be reviewed based on the project.
Use the care instructions supplied with the approved order and avoid unapproved solvents or abrasive cleaning methods.
You do not need every detail finalized, but clear equipment information prevents a lot of back-and-forth.
Start with the exact equipment surfaces you want covered. Include make/model information and photos whenever possible.
Submitting this form requests a quote. It does not place a paid order or reserve a production date.
Upload your logo in the designer above. Your saved design and original artwork can be included with the quote request. Add project-photo links in the notes when helpful.
Include your preferred in-hand date and delivery location. Timing is confirmed with your quote.