
BENCH TOPS
Bench surfaces
Measure each uninterrupted bench section and show where it meets walls, supports, locker bases, hinges, or other built-ins.

Custom foam for locker-room benches and surfaces, built around your dimensions, color combination, and laser-engraved logo placement.
Custom order only · Dimensions reviewed before production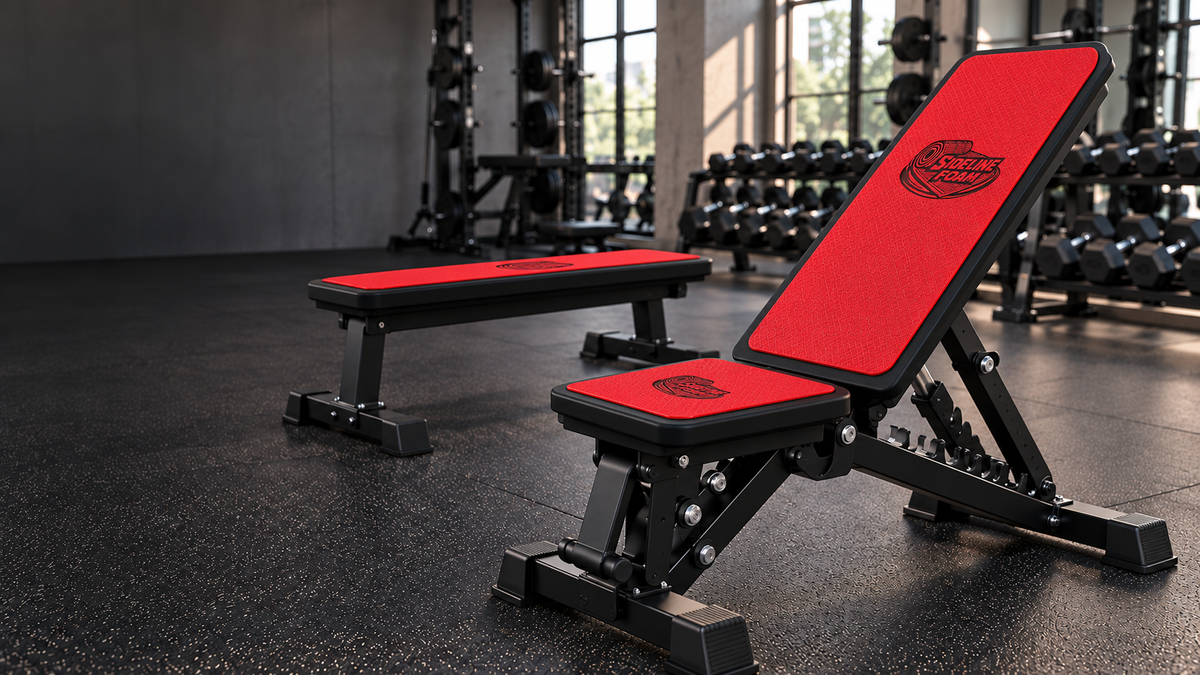
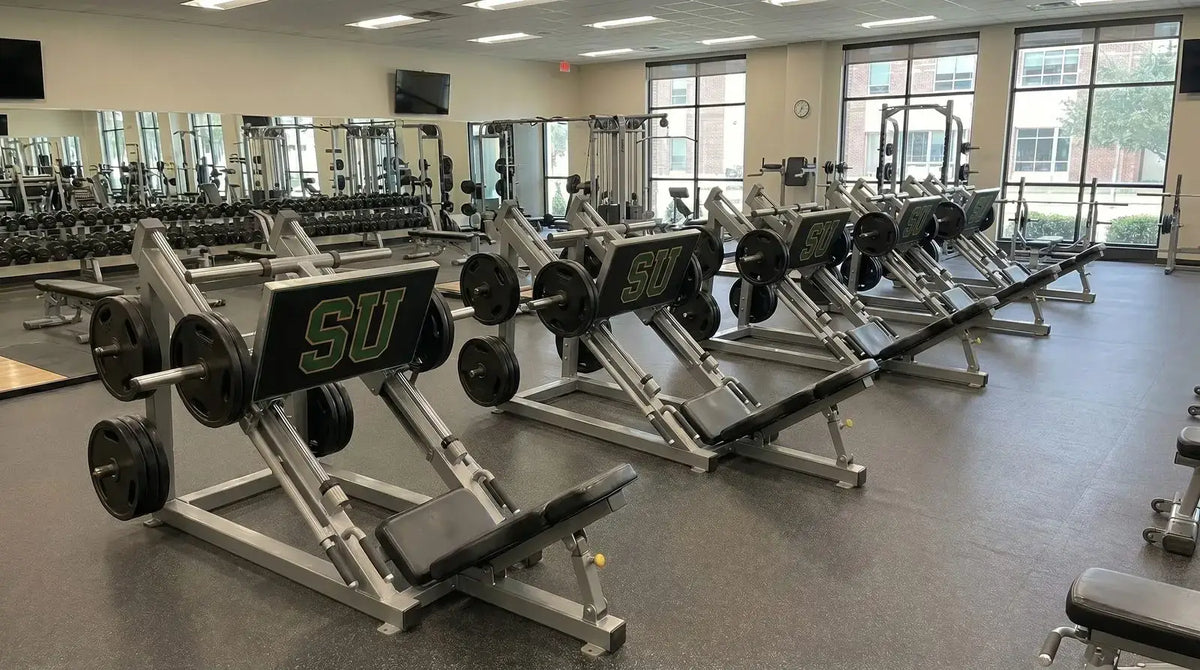

Choose your colors. Add your logo. Move it exactly where you want it. Send the saved design with your quote request.
Screen colors are approximate. Available foam colors are confirmed with your quote.
No logo uploaded
Upload a logo with a transparent background for an accurate engraving preview. Solid image backgrounds will also appear as engraved areas. PNG, JPG, or WebP; up to 5 MB and 4096 × 4096 pixels.
Choose Position logo to drag the artwork directly. Placement sliders work on mobile too. Logos and lettering are laser engraved and preview in the base-layer color. There is no separate text or print color.
Enter requested dimensions in inches. This is a design concept, not a verified fitment template. Cutouts, seat contours, thickness, and material must be reviewed before production.
Locker rooms usually contain several different surfaces—not one standard bench size. The foam layout should be built around each bench, ledge, shelf, or changing area individually.
Walls, supports, locker bases, hinges, gaps, drains, seams, and built-in hardware can all change the usable surface. The page is built to help customers document those details before requesting a quote.
Measure each uninterrupted bench section and show where it meets walls, supports, locker bases, hinges, or other built-ins.

Carry the same color and engraving system onto approved ledges, shelves, or other flat surfaces throughout the room.

For larger rooms, organize the project by zone so every surface, quantity, and artwork placement stays clear.
One room can contain several surface sizes, several zones, and one consistent visual identity.
Custom foam for bench tops using the real usable length, depth, edge profile, and support layout.
Extend the color and engraving system to approved flat ledges or shelf-like surfaces.
Create coordinated foam surfaces in changing or team areas while accounting for walls, drains, seams, and built-ins.
Use one visual system across different bench sizes, zones, and approved surfaces throughout the locker room.
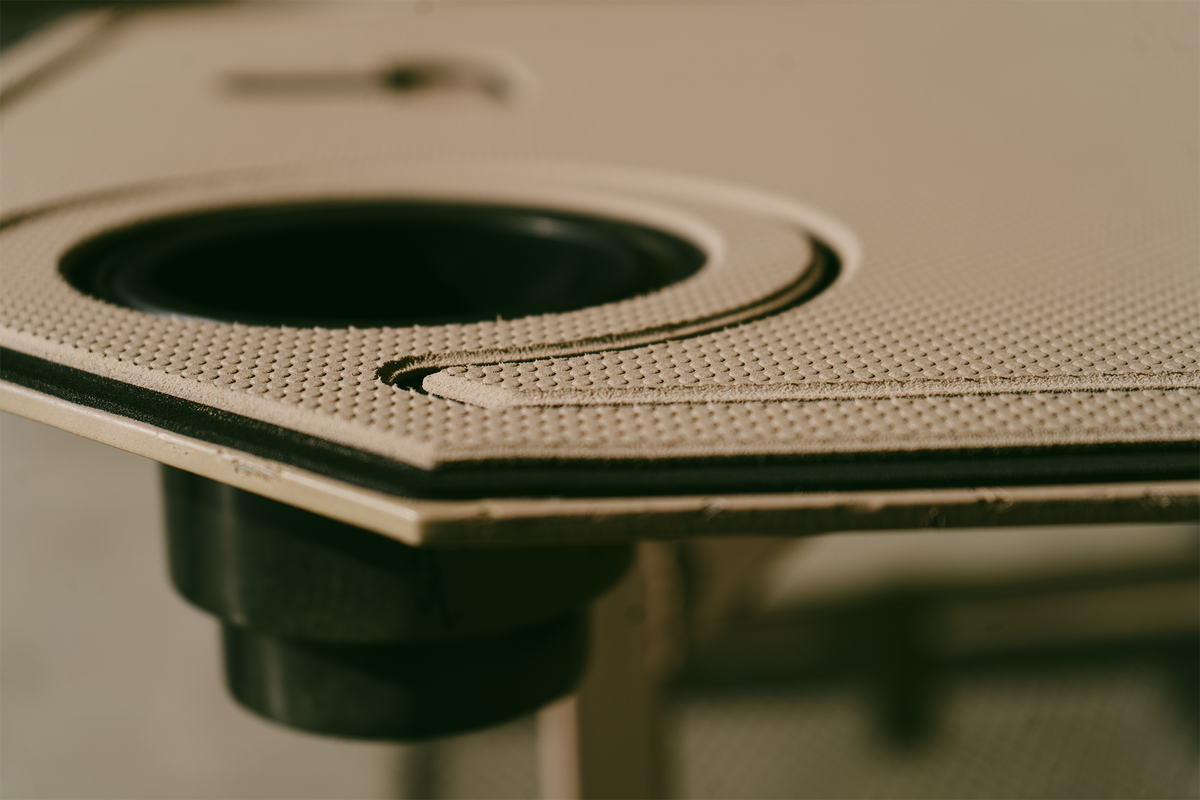
Locker rooms usually contain several different surfaces—not one standard size.
Bench tops, ledges, changing areas, shelves, and built-in surfaces can all be measured and reviewed individually. Share room photos, dimensions, quantities, and the branding layout you want to carry through the space.
Choose a color combination that works across benches, ledges, or other approved foam surfaces.
Use laser-engraved logos or lettering to carry the same visual language through the locker room.
Walls, supports, hinges, locker bases, corners, and gaps can change the shape of each foam piece.
For larger rooms, identify benches or zones in the photos so measurements and quantities stay organized.
The strongest locker-room projects repeat the same color and engraving system across different surfaces without forcing every piece to be the same size.
Choose a visible top layer and contrasting base/border layer. Available foam colors are confirmed during quoting.
Place the team, school, facility, or organization logo on the 3D preview and choose the orientation for each surface.
Use short engraved lettering for room names, bench identifiers, player-group labels, or other approved wording.
Keep the same colors and artwork style across benches, ledges, and other approved surfaces even when dimensions vary.
Create measured foam pieces for bench tops while accounting for walls, supports, and gaps.
Carry colors and engraving to approved ledges or other flat locker-room surfaces.
Use one system of colors and artwork across several different sizes and areas.
For larger projects, name each bench or zone first—then measure and photograph it. That keeps dimensions, quantities, and artwork from getting mixed up.
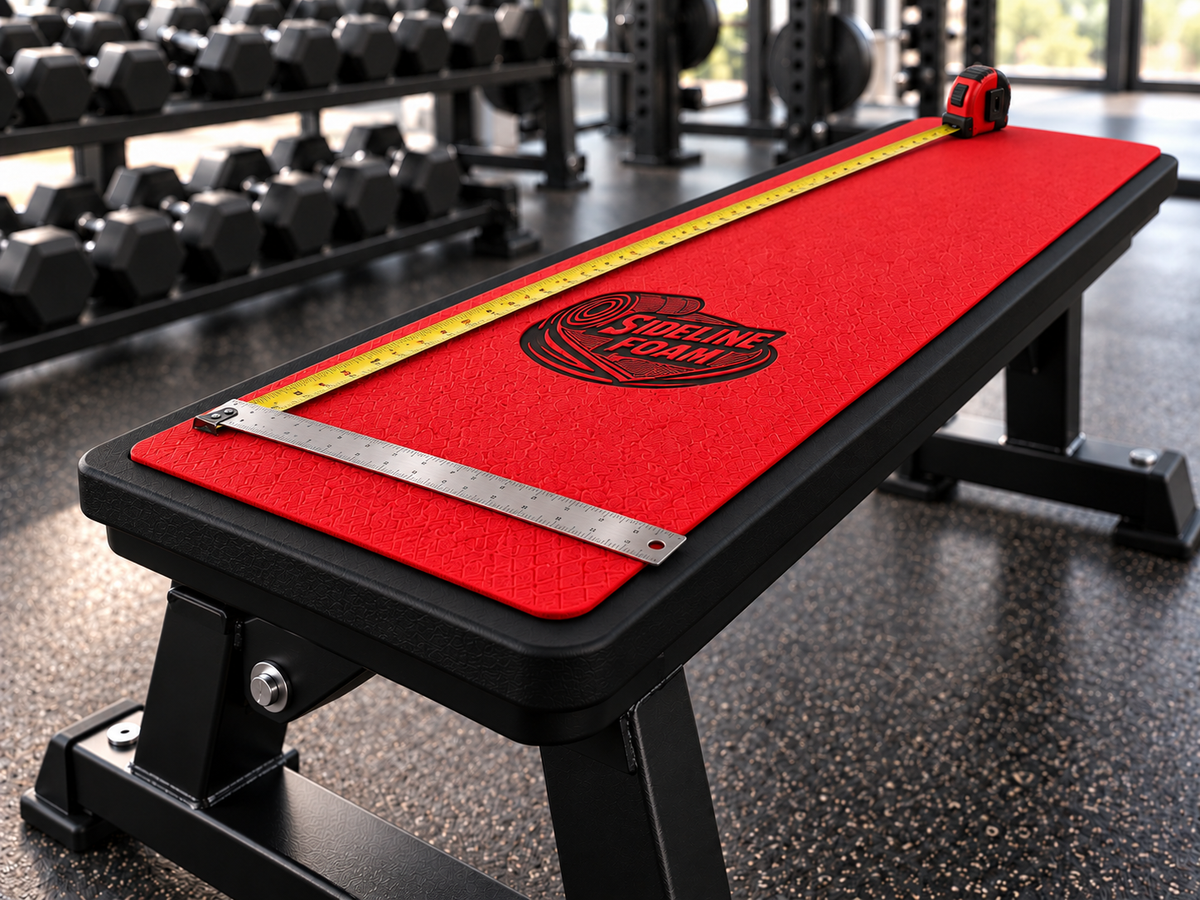
Measure each bench, ledge, shelf, or changing surface separately.
Tell us where each foam piece will sit and whether the surface meets walls, supports, hinges, lockers, or other built-in hardware.
Photograph those areas closely. Show corners, supports, hinges, gaps, wall intersections, drains, and anything else that changes the usable surface. Final fit and attachment method are confirmed during review.
Use the same measurement units throughout. Initial measurements help prepare your quote; production dimensions are confirmed before cutting.
Tell us about the exact surface, quantity, dimensions, colors, and artwork. Photo links help us understand the real project.
We follow up on fitment questions, design details, pricing, and timing. If more measurements, photos, or a template are needed, we discuss them with you.
Approve the agreed design, dimensions, and order details before your project moves into production.
The quote depends on the number of surfaces, unique sizes, shapes, artwork variations, room conditions, and project quantity.
A single bench and a full locker room with many areas are very different production scopes.
Repeated bench dimensions are simpler than a room containing many one-off lengths and depths.
Walls, supports, hinges, locker bases, drains, gaps, and irregular corners can change the foam layout.
Different names, numbers, zone labels, or logo placements create additional unique designs to review.
Moisture, cleaning methods, surface condition, and attachment requirements are part of the project review.
Include the preferred in-hand date and delivery location so scheduling and shipping can be considered.
Locker rooms often combine benches, built-ins, walls, supports, and wet or high-cleaning areas. Documenting each surface separately keeps the project organized.
Fitment must be reviewed for the exact bench or surface. Walls, supports, hinges, seams, edge profiles, gaps, and built-in hardware can affect the foam layout.
Yes. Multiple surfaces can share a coordinated color combination and engraving style while still using different dimensions.
Yes. Use the project notes to identify each area and explain whether it needs unique lettering, numbering, or artwork.
Photograph and measure those intersections carefully so the usable foam surface and edge clearance can be reviewed.
Tell us about the room conditions, cleaning routine, drains, and exposure. Material and attachment suitability are confirmed during project review.
Installation depends on the approved surface, foam specification, and project requirements. Follow the instructions supplied with the final order.
Timing depends on the number of areas, different sizes, artwork, material availability, and approval. Include your preferred in-hand date.
Yes. Label each bench or zone and list every unique length, depth, and quantity separately so the room can be quoted as one organized project.
Yes. Unique engraved identifiers can be discussed as part of the project. Provide a clear schedule showing which wording belongs on which bench or zone.
Photograph and measure that intersection closely. Wall returns, supports, hinges, gaps, and built-in structures can change the usable foam outline.
Show those areas clearly and explain the room conditions and cleaning routine. Material and attachment suitability are confirmed during project review.
Use the care instructions supplied with the approved order and avoid unapproved solvents or abrasive cleaning methods.
For larger rooms, label each bench or area in your photos and use the same label in the measurement list.
Break the room into individual benches or surfaces, then send dimensions and photos for each one. Labels on photos are helpful for larger projects.
Submitting this form requests a quote. It does not place a paid order or reserve a production date.
Upload your logo in the designer above. Your saved design and original artwork can be included with the quote request. Add project-photo links in the notes when helpful.
Include your preferred in-hand date and delivery location. Timing is confirmed with your quote.