
MAIN ROUTE
Straight runs & entries
Long straight sections can carry a repeating color system, logo placement, or directional visual treatment through the space.

Custom foam walkway sections built around your space, colors, and laser-engraved branding. Design the look, map the path, and send the real dimensions for review.
Custom order only · Dimensions reviewed before production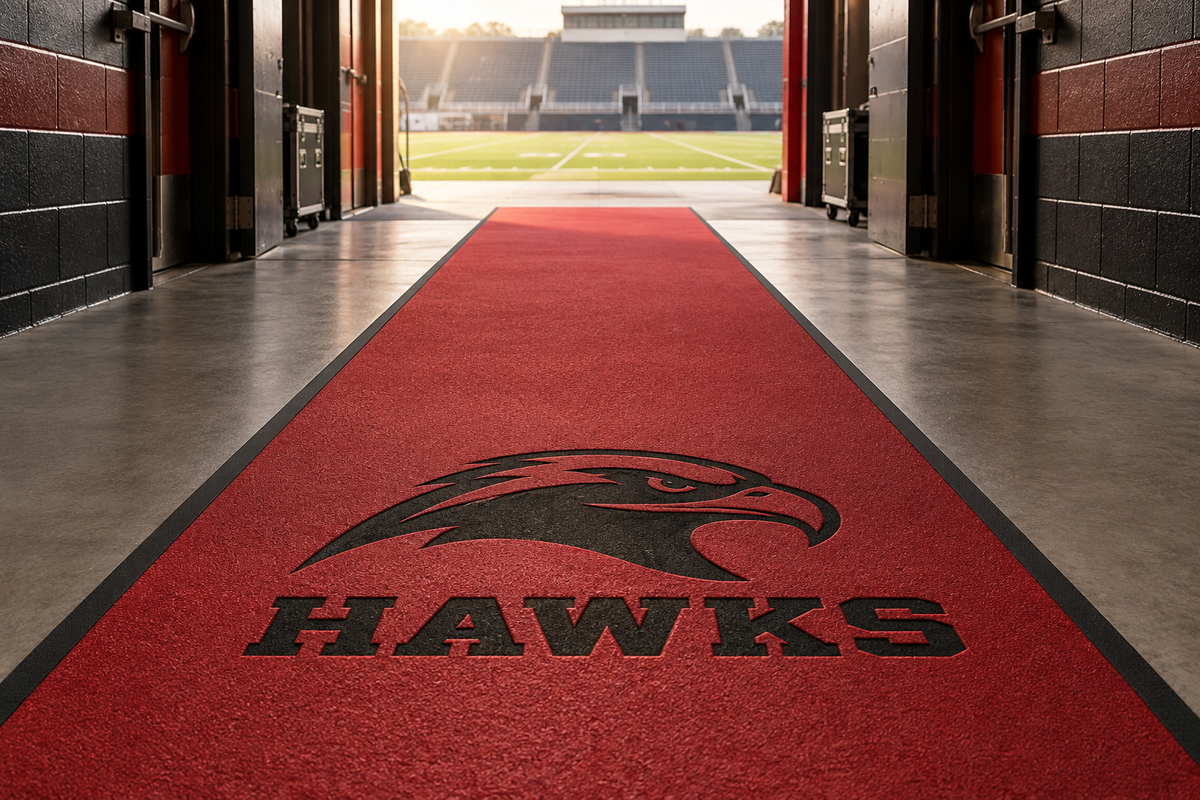
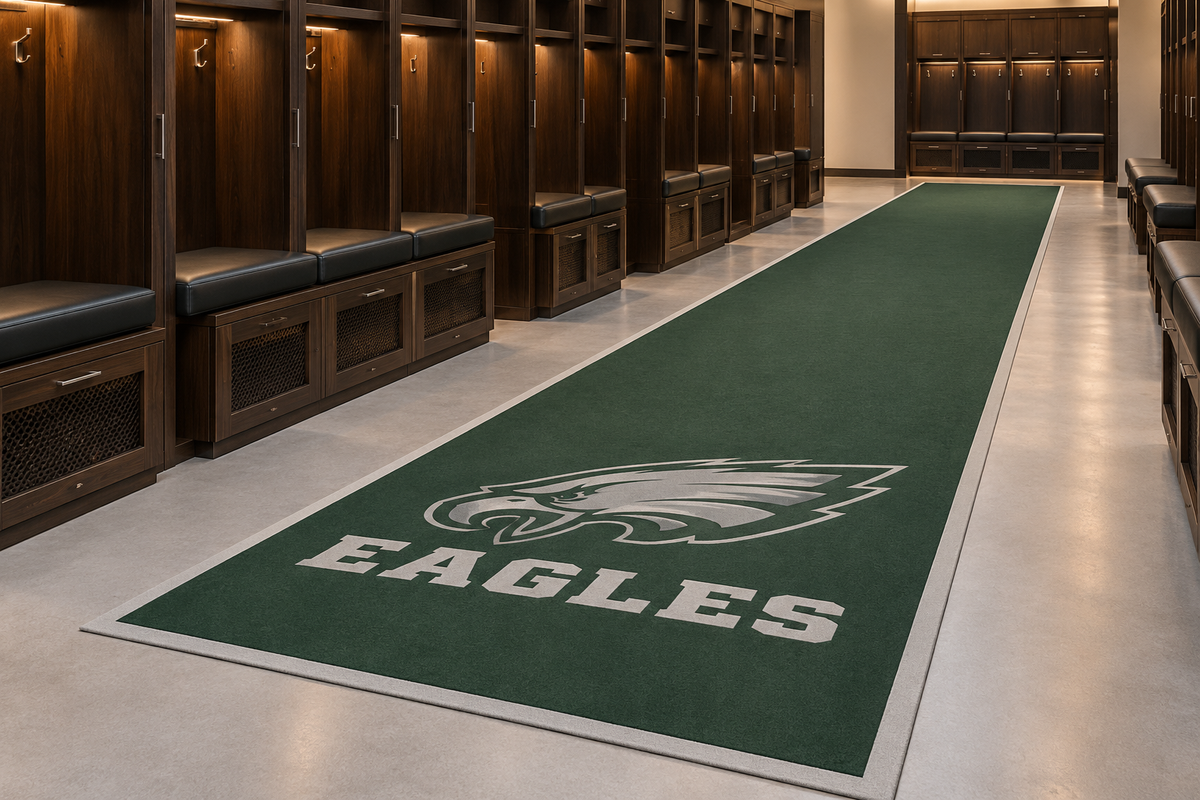
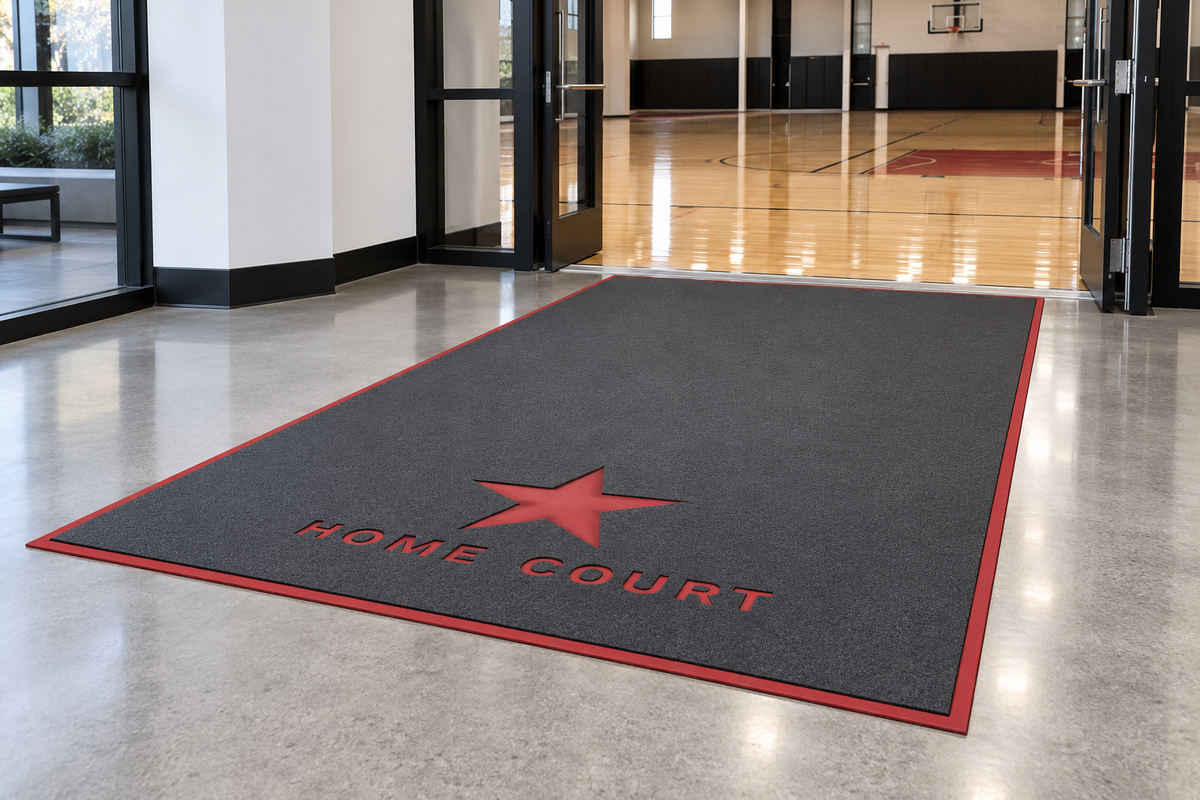
Choose your colors. Add your logo. Move it exactly where you want it. Send the saved design with your quote request.
Screen colors are approximate. Available foam colors are confirmed with your quote.
No logo uploaded
Upload a logo with a transparent background for an accurate engraving preview. Solid image backgrounds will also appear as engraved areas. PNG, JPG, or WebP; up to 5 MB and 4096 × 4096 pixels.
Choose Position logo to drag the artwork directly. Placement sliders work on mobile too. Logos and lettering are laser engraved and preview in the base-layer color. There is no separate text or print color.
Enter requested dimensions in inches. This is a design concept, not a verified fitment template. Cutouts, seat contours, thickness, and material must be reviewed before production.
A custom walkway is more than one long rectangle. The path can include straight runs, turns, entries, tunnels, thresholds, and several connected sections.
The project should be planned around the actual route people take through the space. That means measuring every section, documenting floor transitions and doors, and deciding where logos or lettering make the biggest visual impact.
Long straight sections can carry a repeating color system, logo placement, or directional visual treatment through the space.

Doors, corners, thresholds, drains, and floor changes should be measured as separate route details.

Use larger logos, lettering, or special color sections where the walkway reaches a high-visibility part of the facility.
Map the route first. Then build the sections, colors, branding, and transitions around the real space.
Create a defined path between locker rooms, team areas, tunnel exits, and the field or court entry.
Use coordinated colors and engraving through hallways, transition areas, or dedicated paths inside athletic facilities.
Build a more intentional arrival path for hospitality, sponsor, premium seating, or event-specific areas.
Use larger graphics or special sections at entries, doors, tunnel openings, or other high-visibility moments.
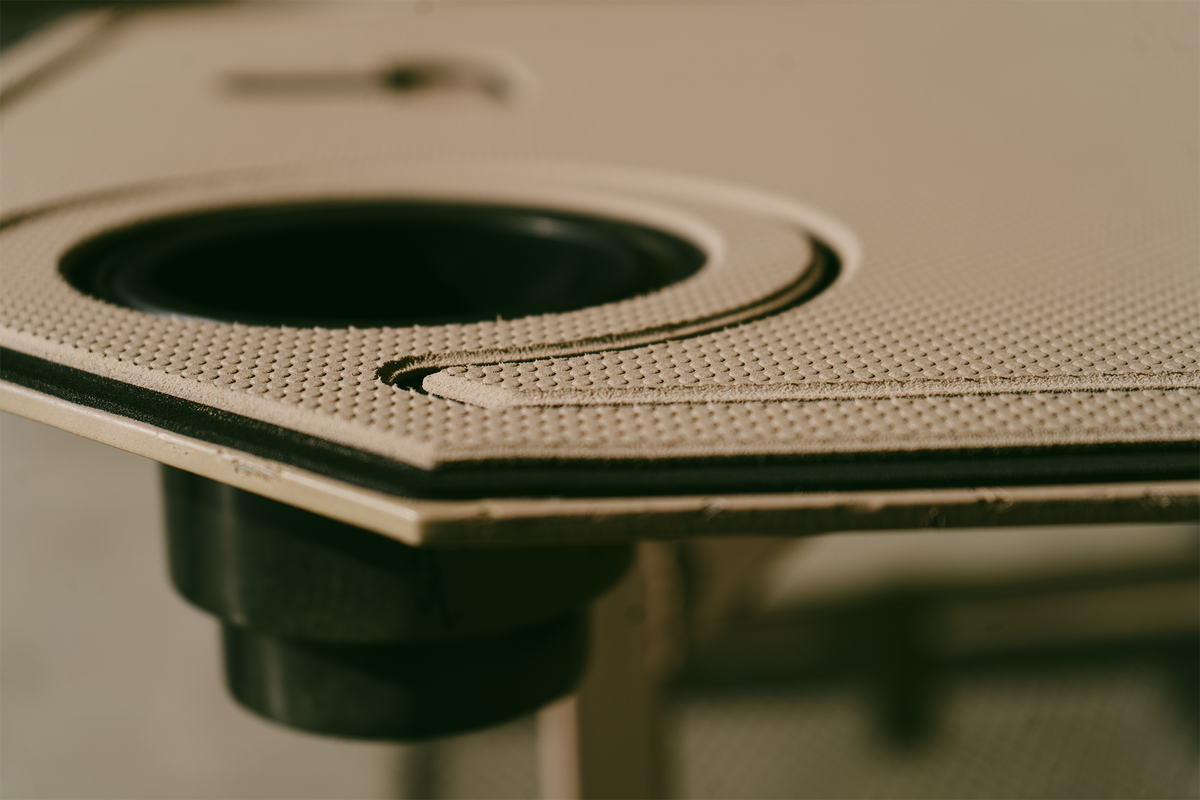
Plan the foam around the actual route, width, turns, thresholds, and transitions.
Straight runs are simple; doors, corners, tunnels, floor transitions, and irregular spaces require more detail. Share measurements for every section and photos of the entire route so the layout can be reviewed as one project.
Choose top and base colors that work with the team, facility, event, or venue.
Use the designer to position branding or lettering on individual walkway sections.
Long runs, turns, doors, and thresholds may need separate foam pieces. List each section clearly in the request.
Show seams, thresholds, drains, door swings, surface changes, and other obstacles before the final layout is approved.
A walkway can do two jobs at once: create a defined route and visually connect the user to the team, school, venue, sponsor, or event.
Use one consistent combination or create different color zones for entries, transitions, or focal areas.
Place team, school, facility, or sponsor artwork on selected sections and preview it in the base-layer color.
Use short engraved wording for team names, zone labels, room identifiers, or other approved text.
Tell us which way people approach each feature section so the artwork orientation makes sense in the real space.
Create a branded path through an entry, tunnel, or transition area using measured sections.
Use repeating color and engraving layouts across long straight runs.
Plan several connected pieces for paths with corners, doors, thresholds, or changes in width.
Do not send only the total length of the path. Separate the route into straight runs, turns, transition zones, and feature areas so each piece can be reviewed correctly.
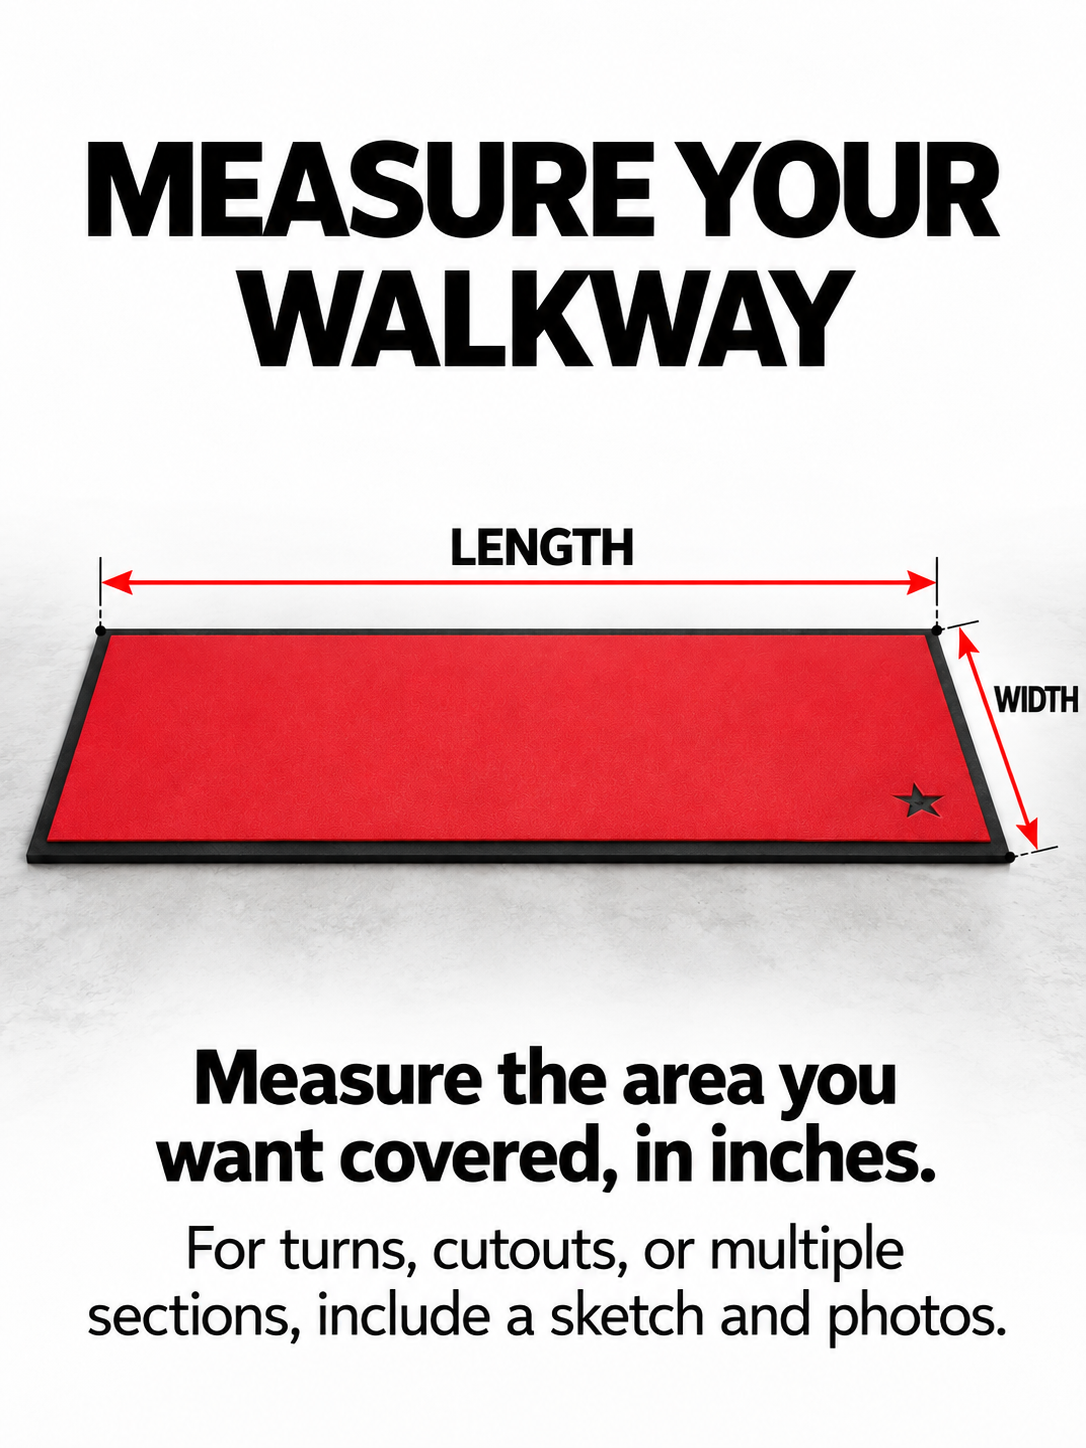
Measure every straight run, turn, doorway, and transition separately.
Tell us where the walkway starts and stops, whether it changes direction, and what floor surfaces, thresholds, drains, doors, or obstructions it crosses.
Photograph every transition closely. Show turns, door swings, thresholds, floor seams, drains, and anything else that changes the path or usable width. Final section sizing and attachment method are confirmed during review.
Use the same measurement units throughout. Initial measurements help prepare your quote; production dimensions are confirmed before cutting.
Tell us about the exact surface, quantity, dimensions, colors, and artwork. Photo links help us understand the real project.
We follow up on fitment questions, design details, pricing, and timing. If more measurements, photos, or a template are needed, we discuss them with you.
Approve the agreed design, dimensions, and order details before your project moves into production.
The quote depends on the overall route, number of sections, dimensions, transitions, artwork, installation conditions, and delivery requirements.
Overall length and width determine how much foam the route requires.
A single straight path is different from a route broken into many connected pieces.
Doorways, thresholds, floor changes, corners, and irregular spaces can add custom layout work.
Repeating one logo is different from several feature zones with unique text or sponsor artwork.
Floor type, condition, exposure, drainage, and attachment requirements can change the approved project plan.
Include the desired in-hand date and delivery location so scheduling and shipping can be considered.
Walkway projects are usually about the route as much as the foam itself. The more clearly the path is documented, the easier it is to review the layout.
Custom layouts can be reviewed, but turns, thresholds, doorways, drains, floor transitions, and traffic flow can affect the final section layout.
Yes. Logos or lettering can be placed on individual sections and previewed as laser engraving in the base-layer color.
Long routes may be divided into multiple sections based on overall length, turns, thresholds, doors, shipping, and installation needs.
Potentially. Measure and photograph every width change and turn separately so the project can be reviewed correctly.
Tell us whether the path is indoors, covered, or outdoors. Exposure, drainage, cleaning, and floor conditions need to be considered during project review.
Installation depends on the approved foam specification, floor surface, route, and project requirements. Follow the instructions supplied with the final order.
Timing depends on overall size, number of sections, artwork, material availability, and approval. Include your preferred in-hand date.
Section length is reviewed based on the overall route, handling, shipping, floor conditions, transitions, and installation needs. Long routes may be divided into several pieces.
Yes, but the doorway width, threshold, door swing, and surrounding floor conditions should be photographed and measured carefully so the transition can be reviewed.
Yes. Identify each section clearly in the project sketch and note which artwork, lettering, or orientation belongs on each piece.
Yes. Feature zones can be designed differently from the rest of the path. Include the usable dimensions and viewing direction so the artwork can be scaled and oriented appropriately.
Use the care instructions supplied with the approved order and avoid unapproved solvents or abrasive cleaning methods.
For anything beyond a straight run, a quick overhead sketch plus photos can save a lot of back-and-forth.
Start with the full route, then break it into individual measured sections. A simple sketch and photos are especially useful for turns and transitions.
Submitting this form requests a quote. It does not place a paid order or reserve a production date.
Upload your logo in the designer above. Your saved design and original artwork can be included with the quote request. Add project-photo links in the notes when helpful.
Include your preferred in-hand date and delivery location. Timing is confirmed with your quote.